|
<%
'*** Randomize the search phrase for GSearch
Randomize
MyArray = Split("Rat Rod,Rat Rod Bikes,Chopper Bikes,How to Weld,Schwinn Parts,Chopper Bicycle Network,Freak Bikes,Chopper Bicycles",",")
MaxSearch = UBound(MyArray)
MyRandom = int(rnd * MaxSearch)
MySearch = MyArray(MyRandom)
%>
|
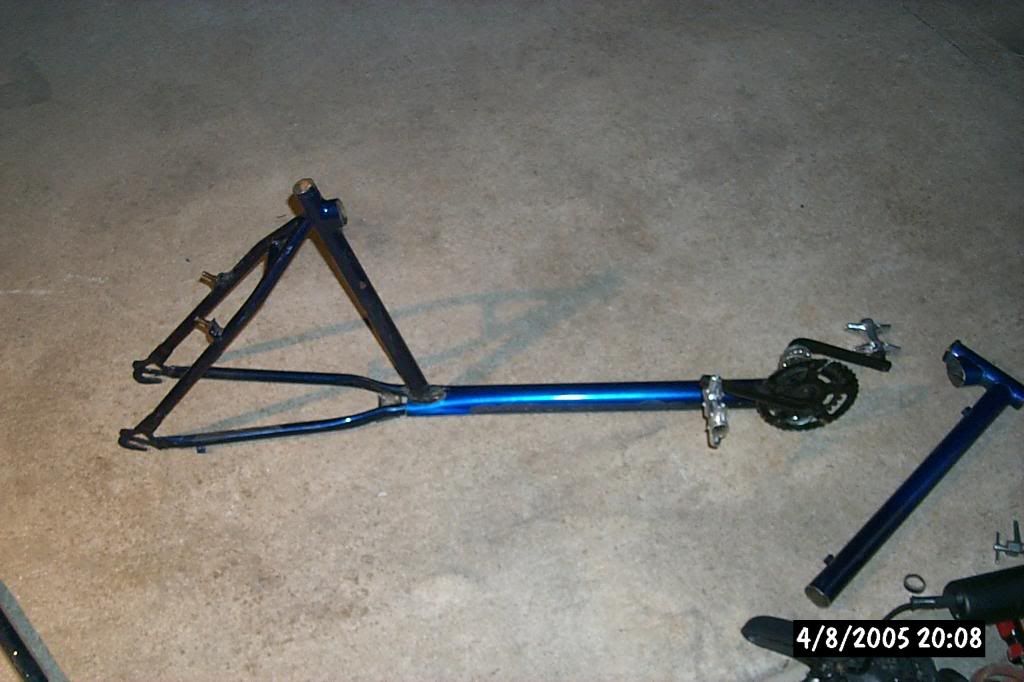
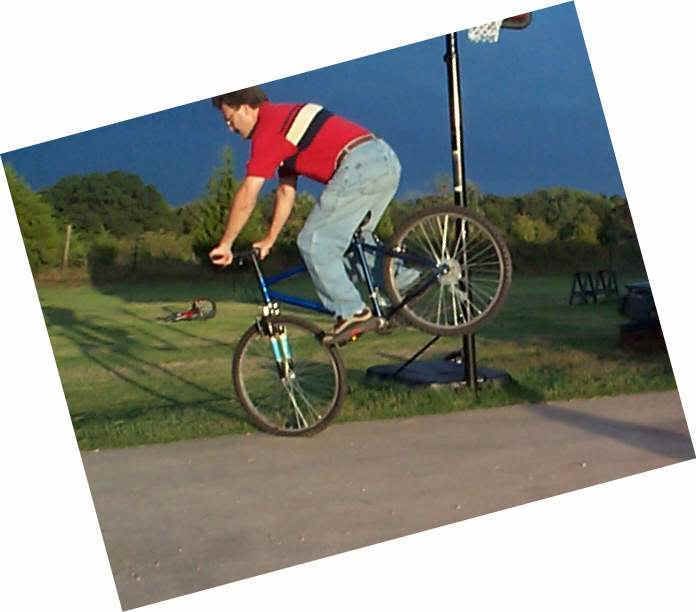
That's what I used to use the bike for on the left :-) With a Trials Bike now I really haven't used this one much. One thing that needs to be clear, I did ALL the work on this bike. Design, cut, weld, bondo, paint, and everything else. I am really terrible at welding and body work and I guess it shows but I did it all by myself... :-P |
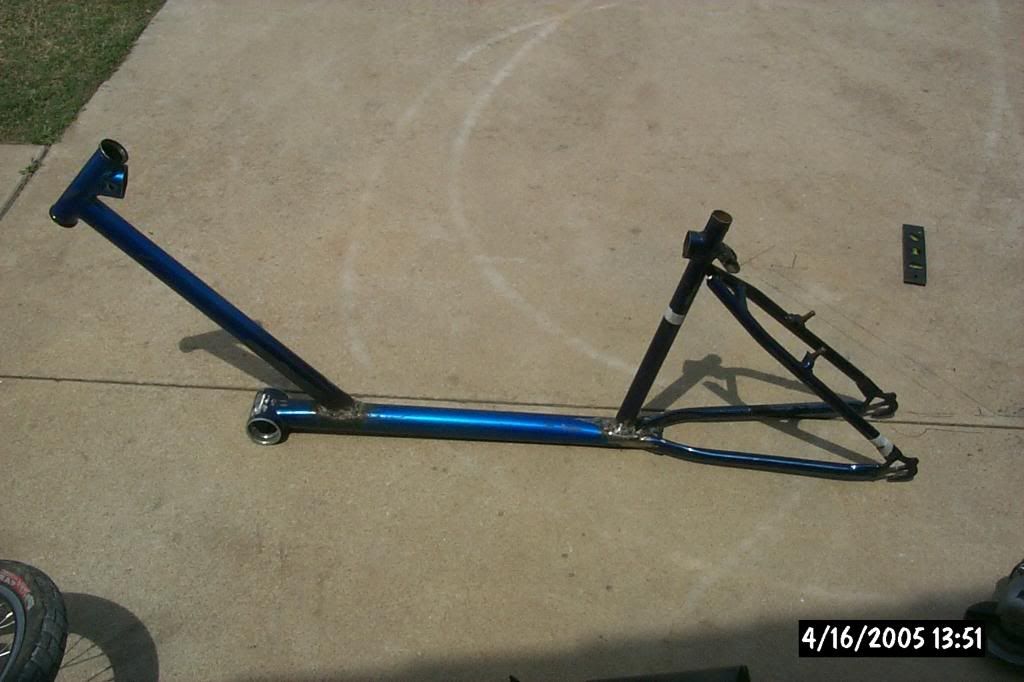
| There's the basic plan minus the top bar. I did a normal cut for the existing top tube and down tube and then also cut the bottom bracket out, reversed it and then flattened the end to allow the chain stays to line up to the oval. I'll insert some pipe inside the chain stays that will extend into the bottom tube just to be sure. |
|
| Close up of the back end before flattening out the bottom tube and cleaning up the bottom of the seat post. | |
| Close up of the proposed front end layout. That is assuming a 30" fort setup with triple clamps. I'm guessing a 45 degree rake would be about right but until I actual find some forks and get them in hand I cannot set the angle of the down tube. |  |
| Just a long view of what it might look like. |  |
| Close up of the flattened bottom tube with the seat post and
chain stays lined up and the cranks in to see how I will fit on the thing.
I think that will be about the correct distance for my size.
Check out the peddles in the full size view... |
 |
Update One |
|
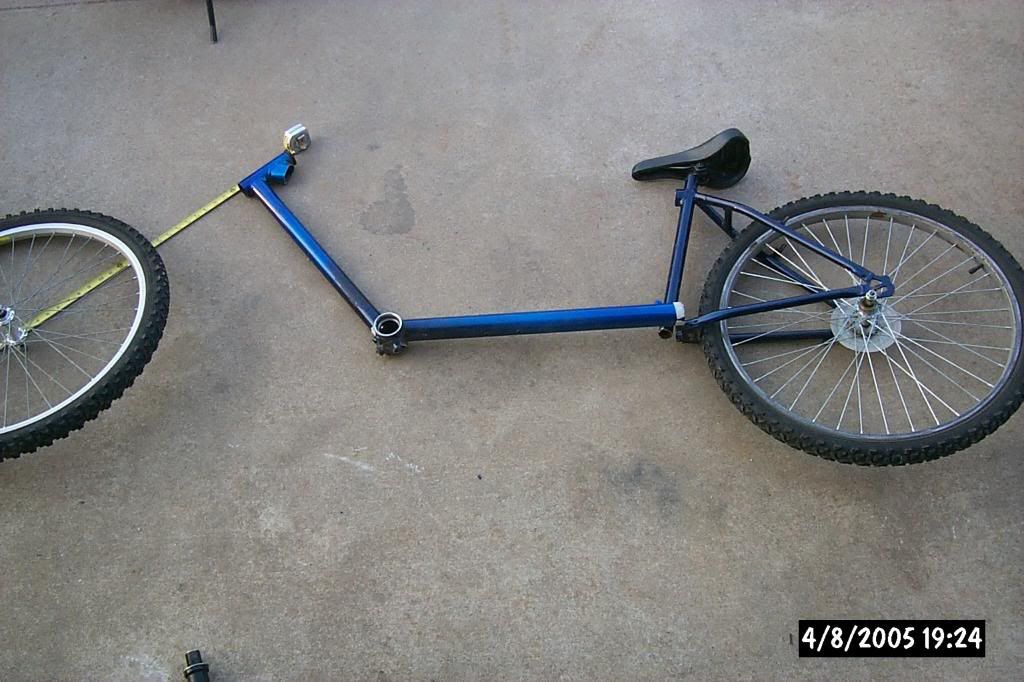
| Bottom tube is welded up. The weld is nasty as ever but it actually lined up better than I thought though. The flatten tubing flows pretty well into the chainstay tubes. The seat post was fit to the flatten portion of the bottom tube and locked in. |  |
| Just another view of the project so far. I ended up drawing a straight line on the driveway with a marker, lined up the front of the rear cage up with that and then lined up the bottom bracket shell with the line. A quick check with a level and I welded it up. | 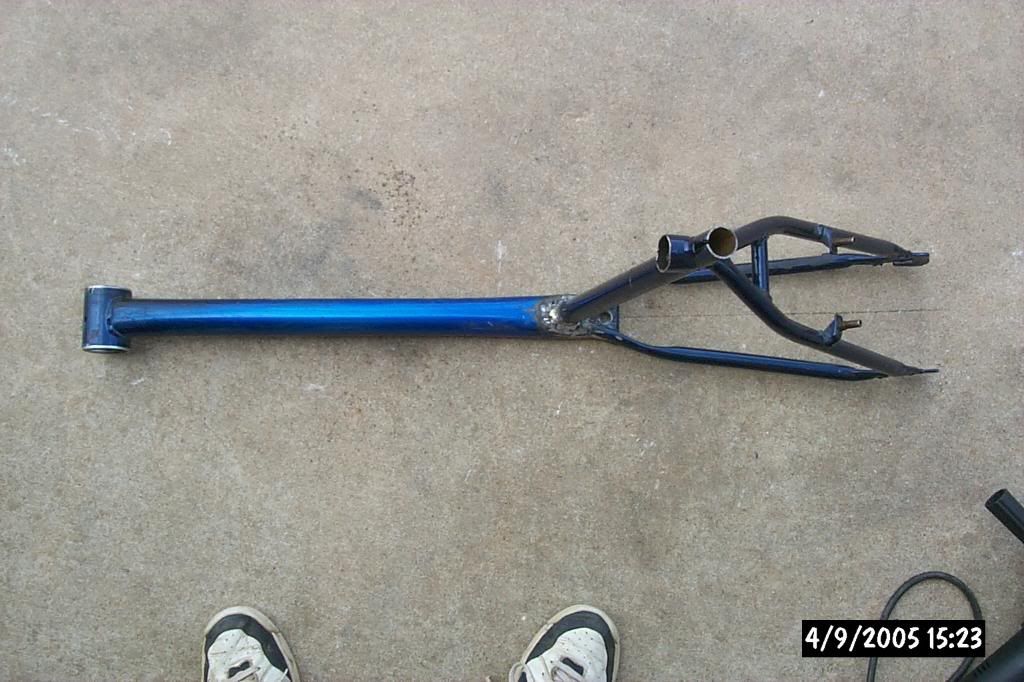 |
| One more view from the top. I should have lined up the camera better to double check the centerline... but I couldn't change it at this point anyhow.. lol. | 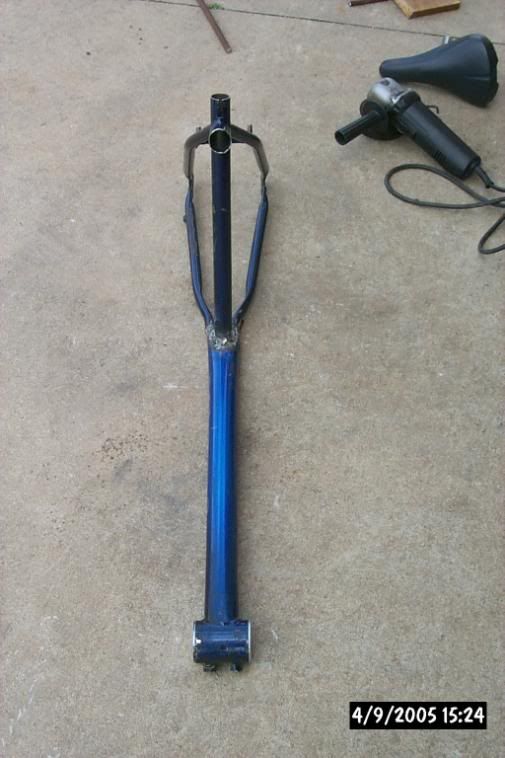 |
| I should seriously consider having Austin weld this thing up. I honestly don't think he could do any worse than some of my welds. I'm using an antique 'Pocket Mig 100' without the gas since the regulator died a long time ago. I bought some flux wire to avoid having to replace the welder some time ago and it welds but... |  |
| Since I want to keep the rear de-railer even though it will likely look rather crappy, I'll need to have at least a rear V brake. Not wanting eight foot of cable hanging the frame I am going to try to run the cable inside the top tube. I'll have to use a shorty seat tube but I don't plan on having the seat up anyhow. |  |
| Here's another view of the proposed cable run. I plan to stick a coat hanger though the tube before welding everything up so I'll something to pull the brake cable through. | 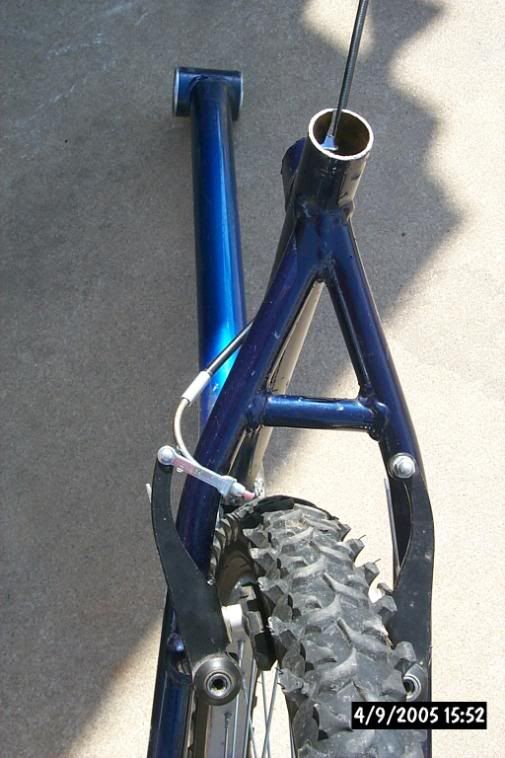 |
| Just another layout.. ignore the orange fork. It appears I'll be able to use the 1.75" .050 tubing, flatten the end that attaches to the head tube, line it up and weld it. On the other end, that size of tube will fit OVER the old stub I left allowing it to be welded to the seat tube. | 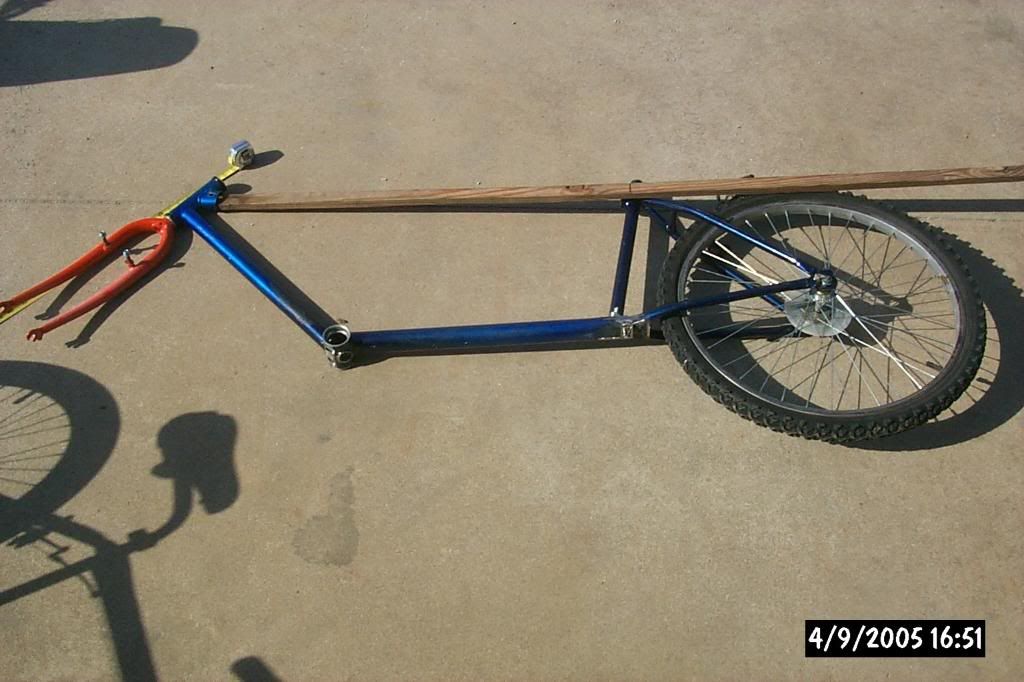 |
Update Two |
|
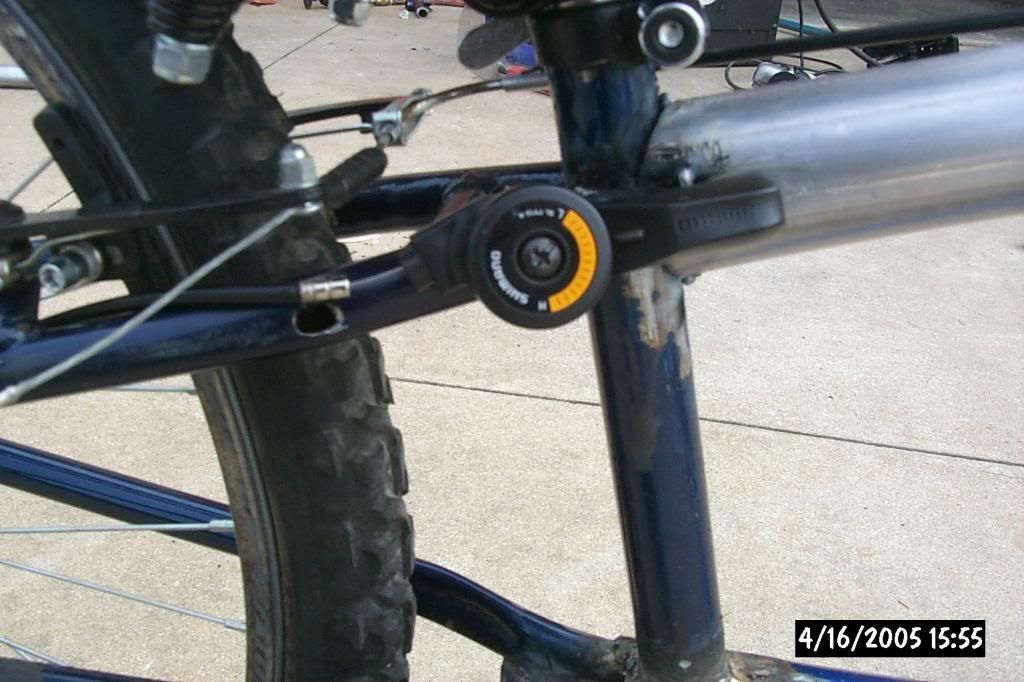
| Since I want to keep the derailer to allow gear changes for my lazy rear I need to have some way of shifting. Not wanting cables running from the handle bars or stem back tot he derailer I thought I'd use my old stem shifter I picked up but mount in on the seat stay. |  |
| I drilled a hole just below the shifter and routed the shift cable though the seat stay hiding it for the run down to the derailer. This puts the shift point right under the seat allowing easy access to change gears... I hope at least. | 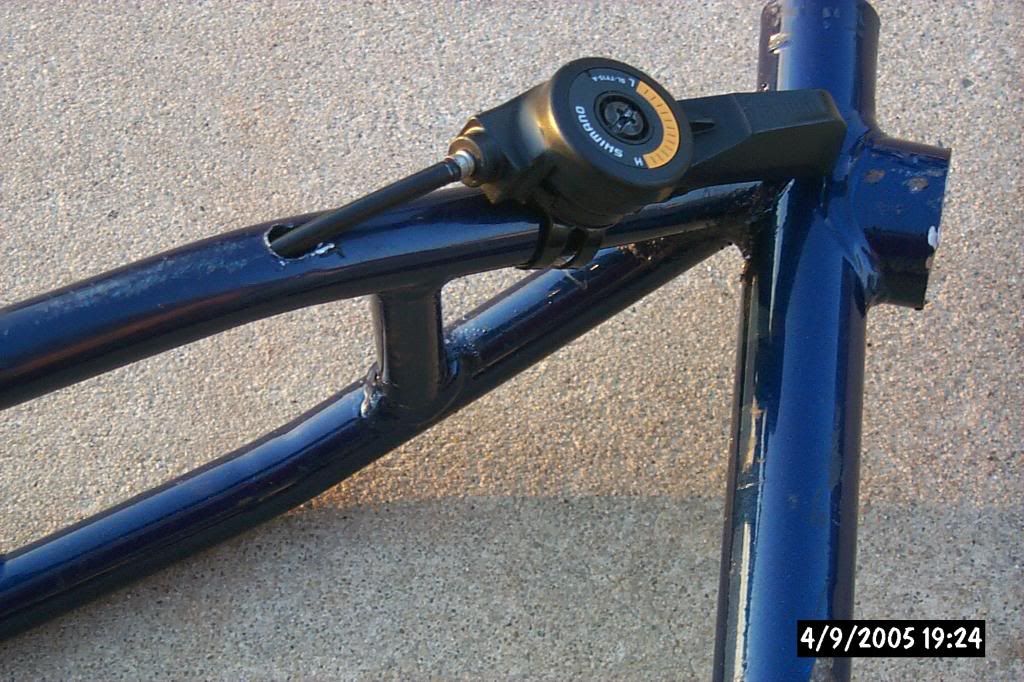 |
| Here you can see where it will come out to drive the derailer. This cable sleeve is obviously too short but I'll use a longer custom cut one for the final configuration. |  |
Update Three |
|
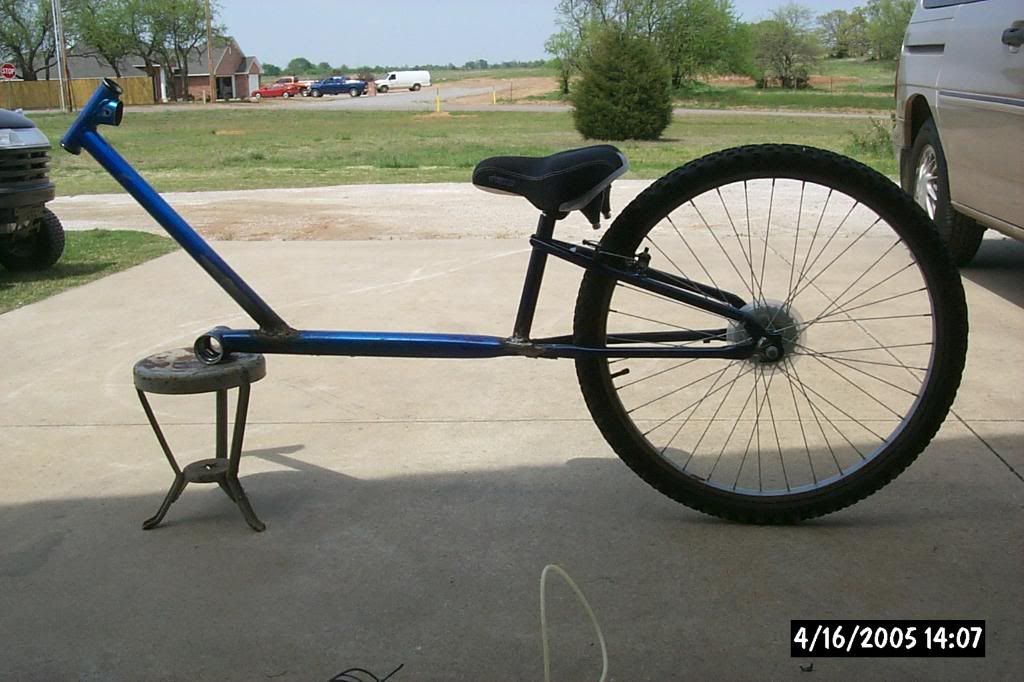
| Just waiting for some parts now. These are the forks on order that will ride up front. They are 30" total length with adjustable triple clamps. Once these are in I can set the actual angle of the steering tube. I also have a 7 foot section of 1.75" OD pipe now for the top tube but cannot begin working on it until the forks are here. | 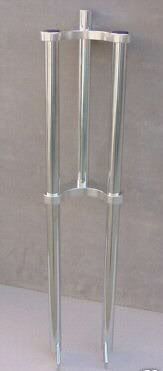 |
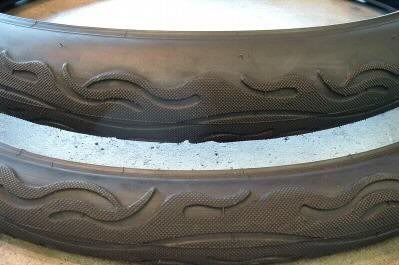
| Although I didn't really plan to buy these tires the price was right so I'll at least start out with 26" x 2.00" 'Flame' tread tires. Should be fine for a cruiser/chopper. This isn't going to be a 'fat tire' bike especially since wide 26" tires are pretty much limited to knobby Bike Trials types and that type of tire just wouldn't fit the theme. | 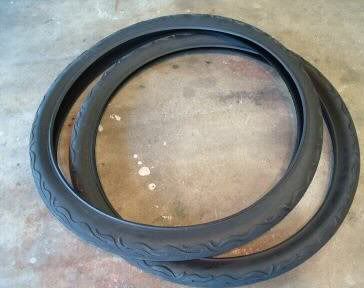
|
Update Four |
|
| The forks are in and a rough up just doesn't seem to look
right with the seat at the normal height. Soooo... more cutting. I'm
pretty sure I cannot remove the rear drop outs and get things back
together right so I've notched the rear seat stay, cut it loose from the
seat post and have bent it down to match the angle of of the top tube.
This allows a straight line look from the rear to the head tube and drops the rider down 'into' the bike more. Hopefully it will work out. Note the change in mounting point for the front down tube. After mocking things up it was going to be way too much stretch to reach the bars as it was setup so the mount was moved back.
|
|
| Here's the stance with the forks and lowered seat post and seat stays. With the existing 7" cranks the extended peddle to seat length is about 32" to 33" with the seat all the way down which looks best. |  |
| View from the top before the top tube is in. | 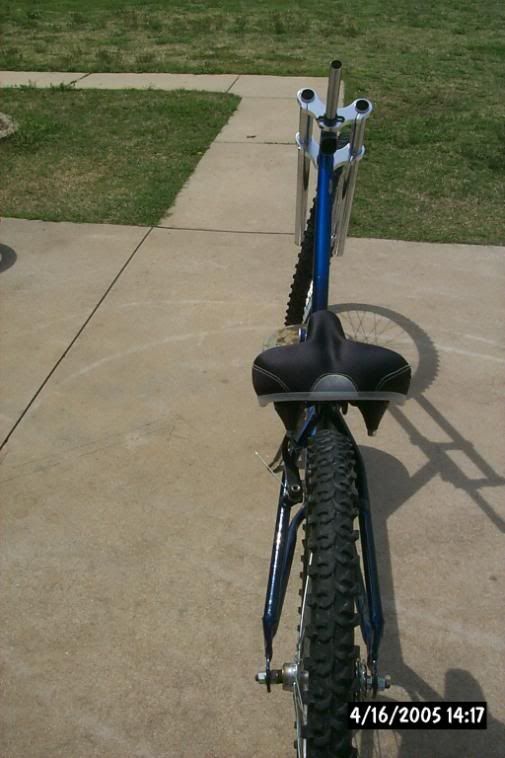 |
| View from the front before the top tube went in. |  |
| Rear view before the finalizing the top tube and seat stay positions. |  |
| Ha.. after all that discussion and cussing and thinking I was doing something a little different I end up with a pretty standard cruiser / chopper frame setup. Oh well, at least *I* put it together, not from scratch but it's a start. | 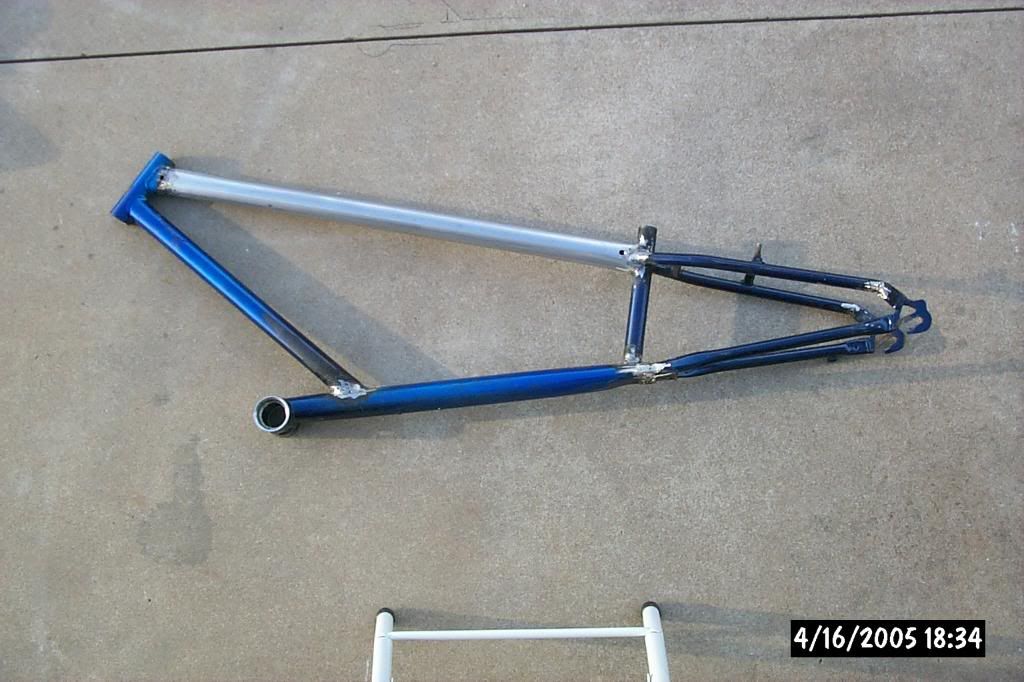 |
| Updated pic of the shifter setup. The cable will actually go
into the frame in the hole just behind the shifter. When in about 2nd of
3rd gear which I plan on gearing for normal cruising, the shift lines up
with the stays and top tube.
I plan on covering the orange indicator with an aluminum button cover of some sort. |
 |
| Rear view of the V Brake setup. With this seat the break is pretty much hidden. Will be glad when the flame tires are in to replace these knobs. | 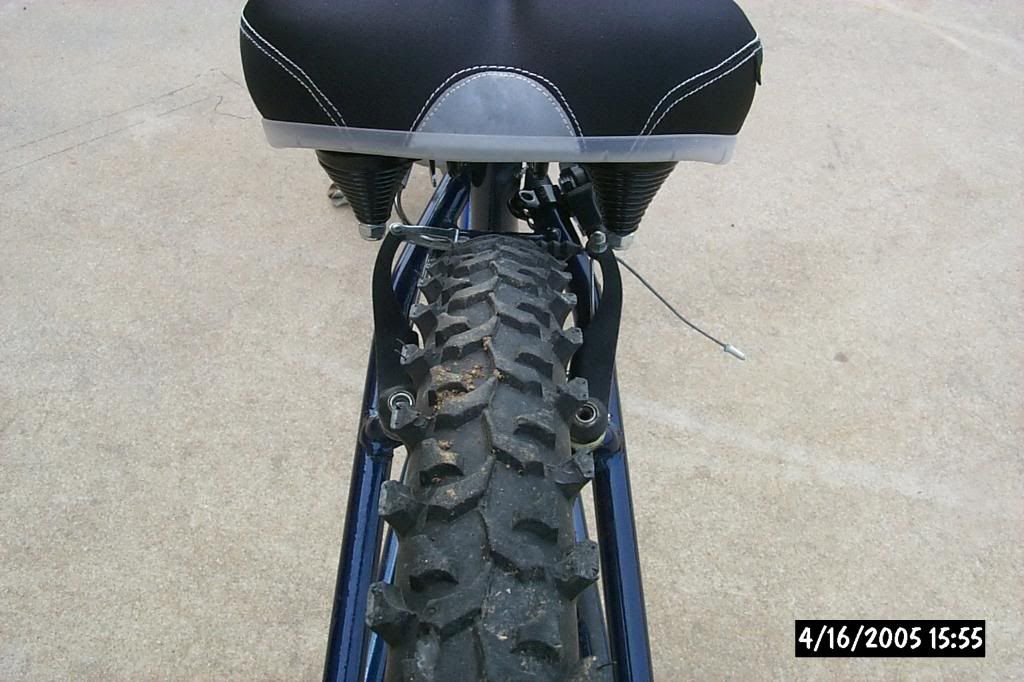 |
| A hole in the top tube just in front of the seat stay has been drilled since this pic and the brake noodle will loop the cable around and it will disappear in the frame. | 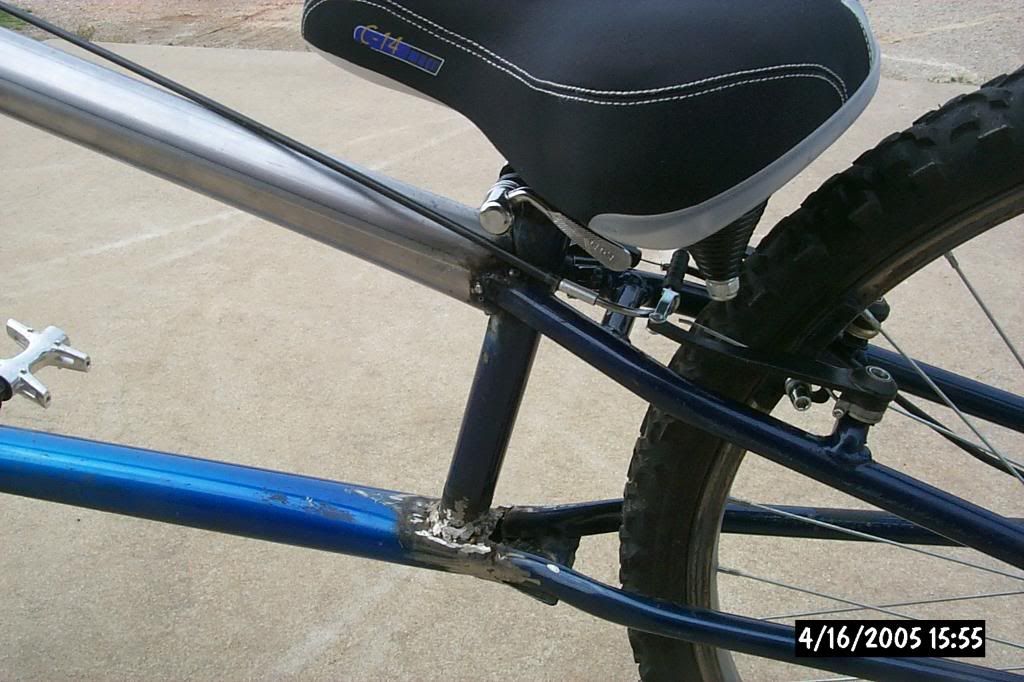 |
| Front view of with the top tube in place. Soooo close to
rideable.
All that's needed now to put the bike together for testing and debugging is a unthreaded head set, shorty stem, cut the steering tube, drop in a sprocket and hook everything up. After the finalization it will be pulled back apart, welds ground down, smoothed up, painted and put back together for good. I will be replacing the old steel rear wheel with an aluminum unit as well. |
 |
Update Five |
|
| Ready to Ride - Kinda.. everything is functional now and it's been on a couple test rides. I need to swap out the rear knobby for the other flame tire but I've been down the street with it. |  |
| I still plan on replacing the stem with a shorty threadless unit and installing the top lock nut kid I found instead of the 'star fangled' standard issue. | 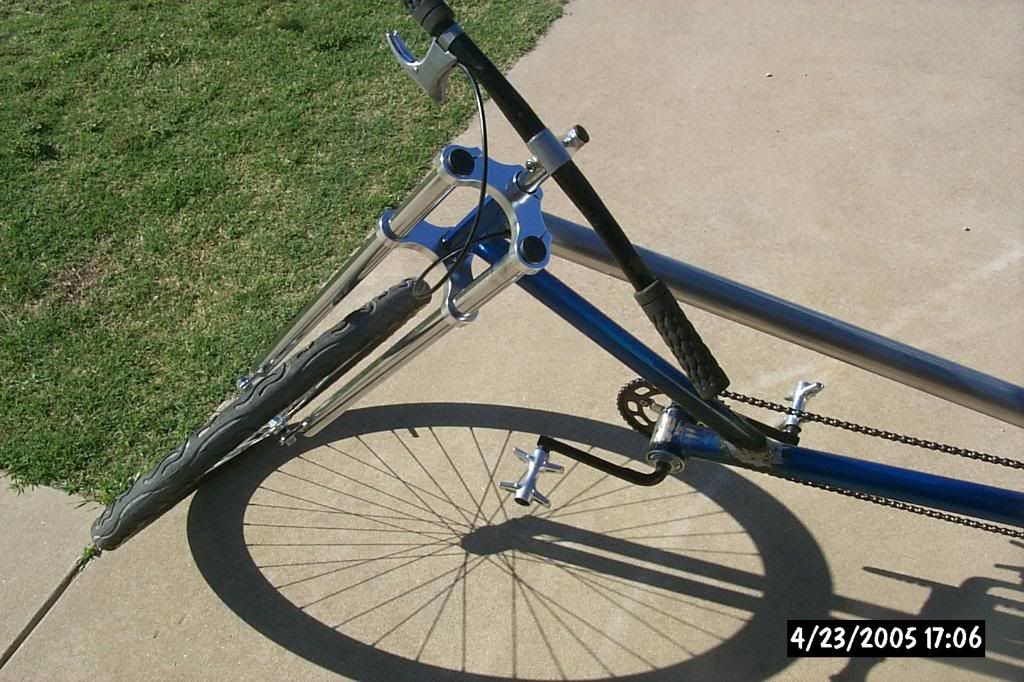 |
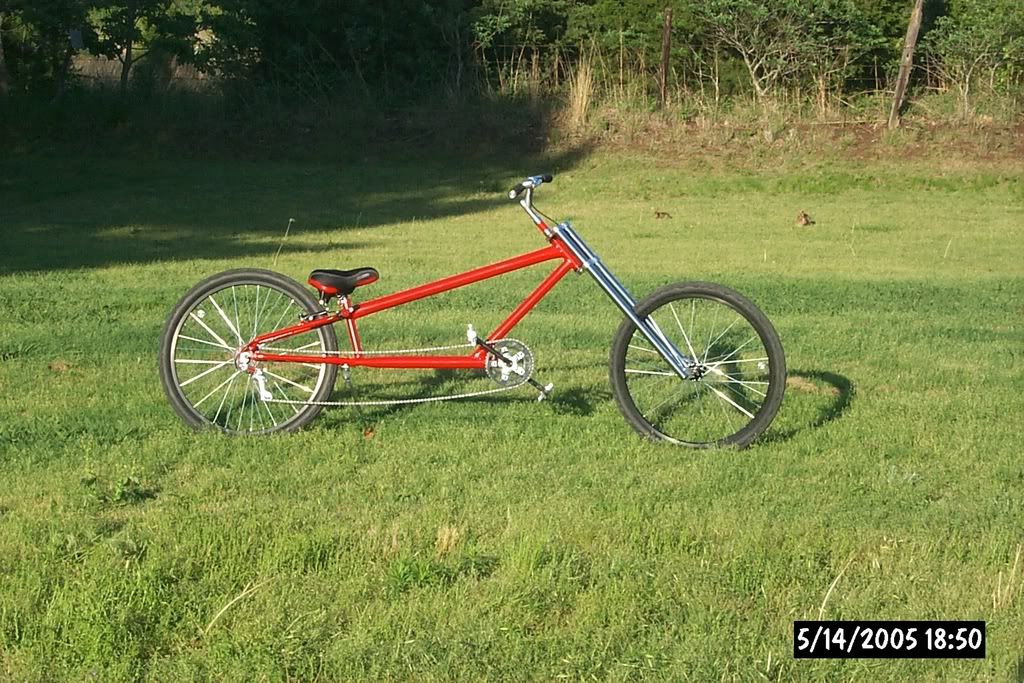
| It's long and the rake does make it want to turn but once I got a feel for it the ride was pretty enjoable. |  |
| Good side view here. The ugly brake cable up front will be routed through the handle bars and come out just enough to get back into the frame up front once I get the bars finalized. | 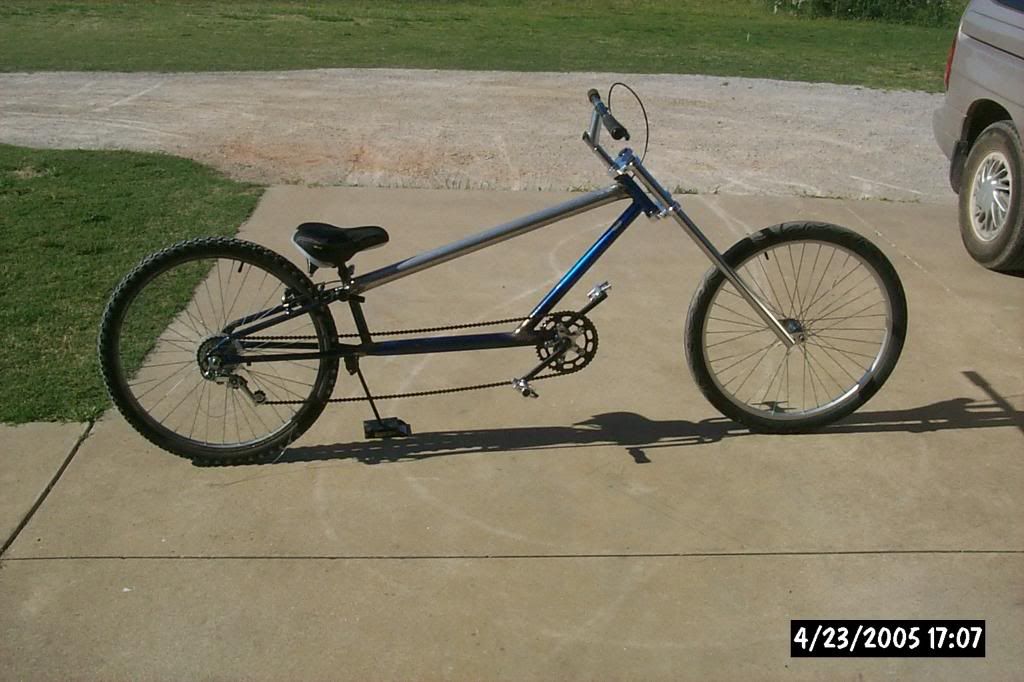 |
| The modified 'aero' brake handle can be see better here. I simply shortened the handle and use my index finger to lay on the break. This provided more travel so this type of handle could be used with the V Brake out back and once the cable is in the bar it should look much cleaner. |  |
| I like this shot best so far. Hang the camera down low, snap and see what it looks like. |  |
| Oh boy... the bike looks better without me. | 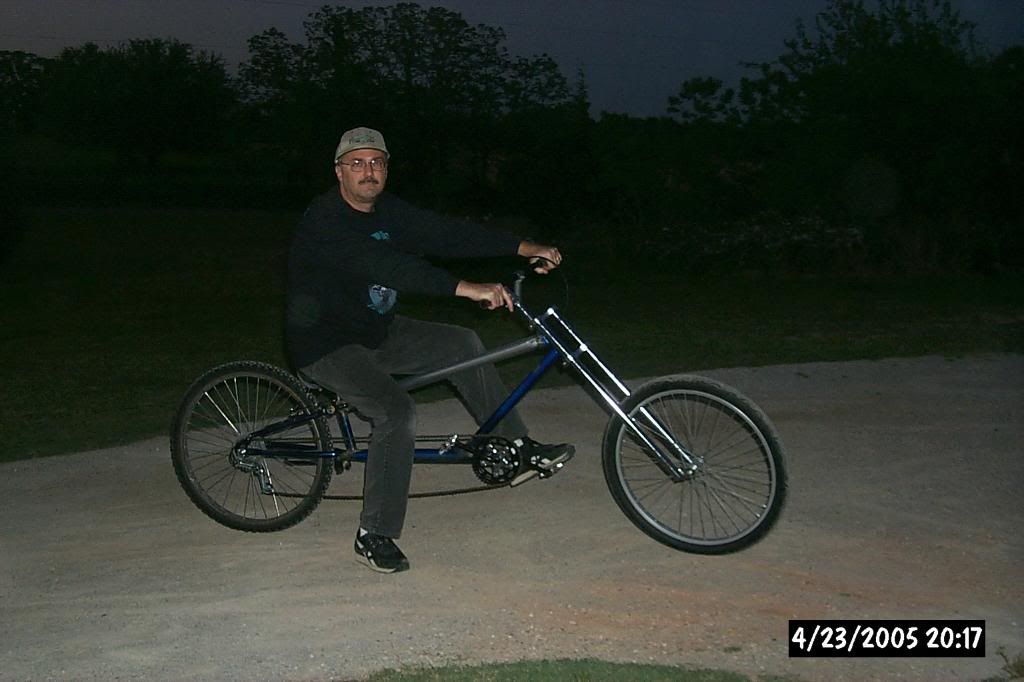 |
| Just another profile pic. It has a good attitude to me. | 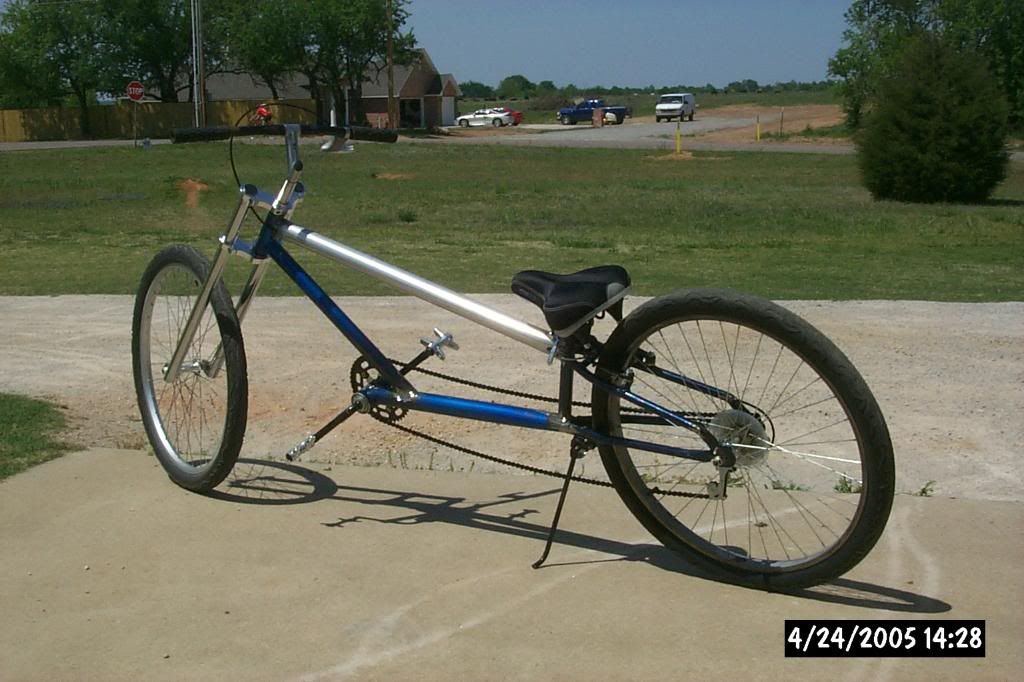 |
| Close up of the semi-hidden brake cable. One Areo handle, drill out the handlebar, drill a hole in the stem and route cable. Personally I wish you couldn't see it at all but I don't know how to pull that off. |  |
OK Cruiser - Update Six |
|
| Build time.. after some test riding it was time to tear it down, paint, detail and reassemble. Cherry Red ended up being the color of choice based on the wheels I ended up with. Originally I wanted a translucent or 'candy' red but since I'm limited to spray can solutions for now I ended up with this bright red. | 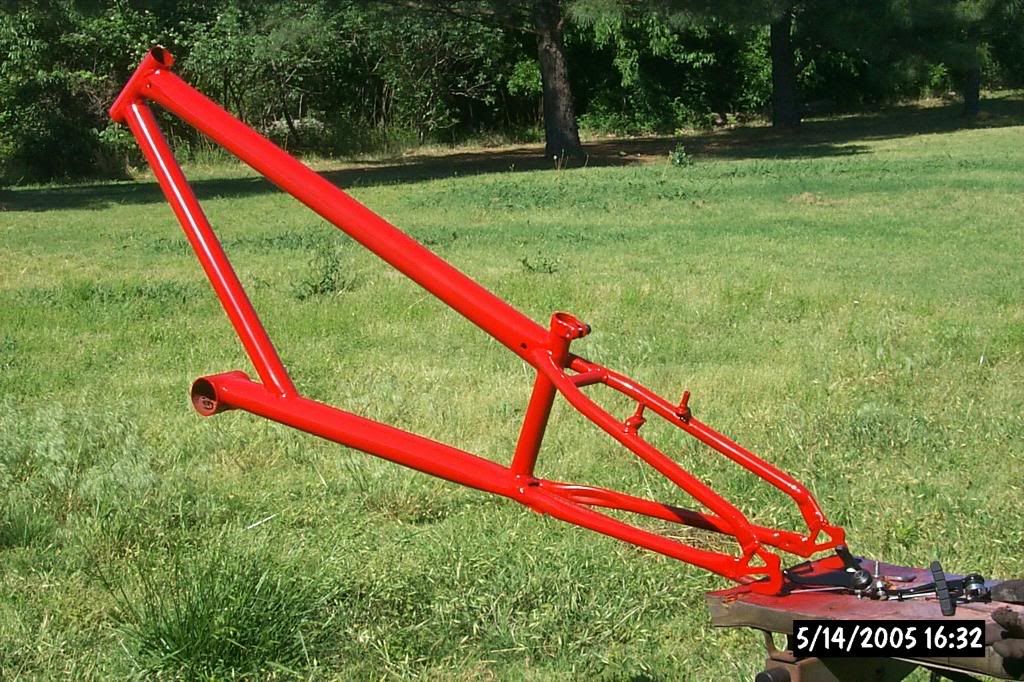 |
| Assembly actually went a lot faster than I thought it would. I had planned on working it a little each evening but once I got started it was only a couple hours and I was done. |  |
| Getting the brake cable back through the frame was the hardest part of putting the whole thing back together. |  |
| Finished. I do have some embroidery work that is going on the seat I hope that says "OK Cruiser". | 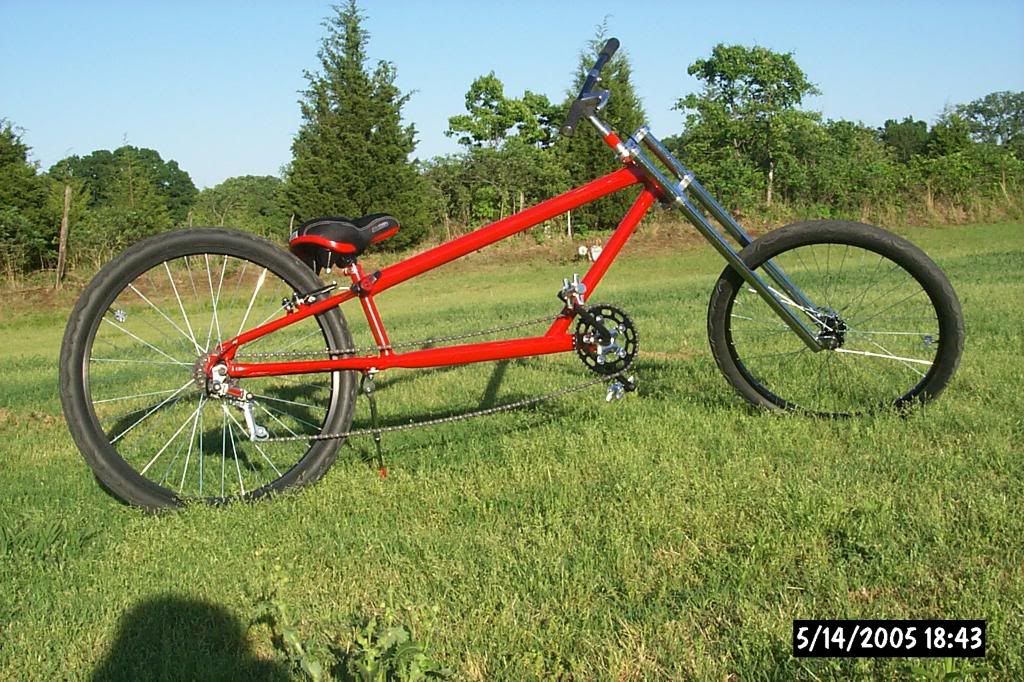 |
| Close up of the steering tube. I didn't want to cut it down too far and needed the rise to be able to reach the bars so I polished up some aluminum spacers and dropped a painted steel handmade spacer in the middle. Note the modified 'aero' brake and cable in the handle bars and out the stem. | 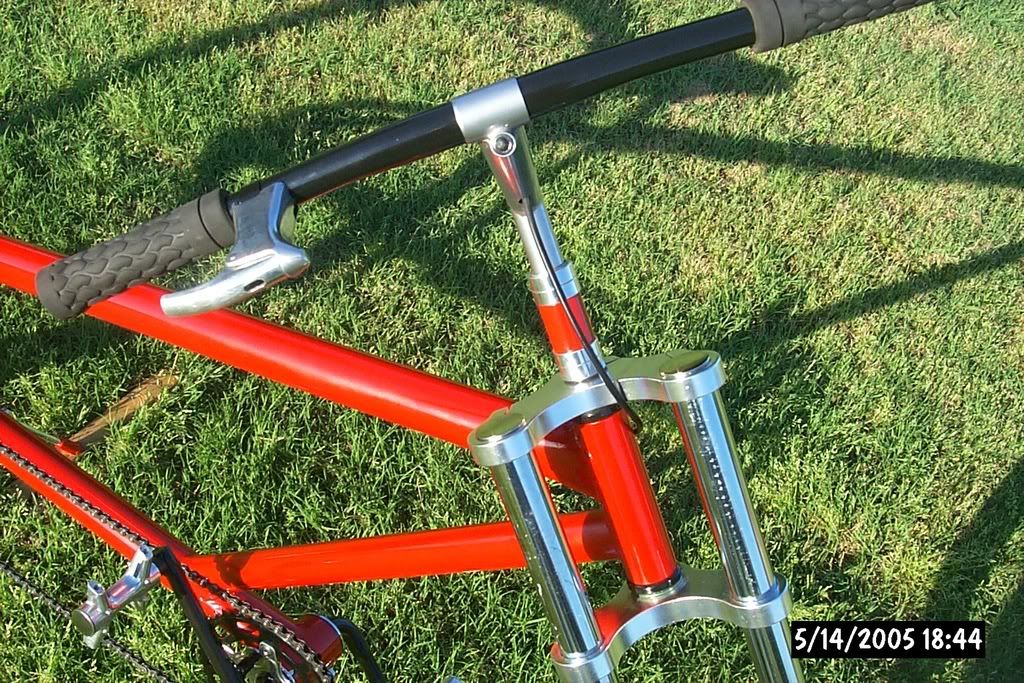 |
| Close up of the modified aero handle showing hidden cable.. err.. not showing the hidden cable. | 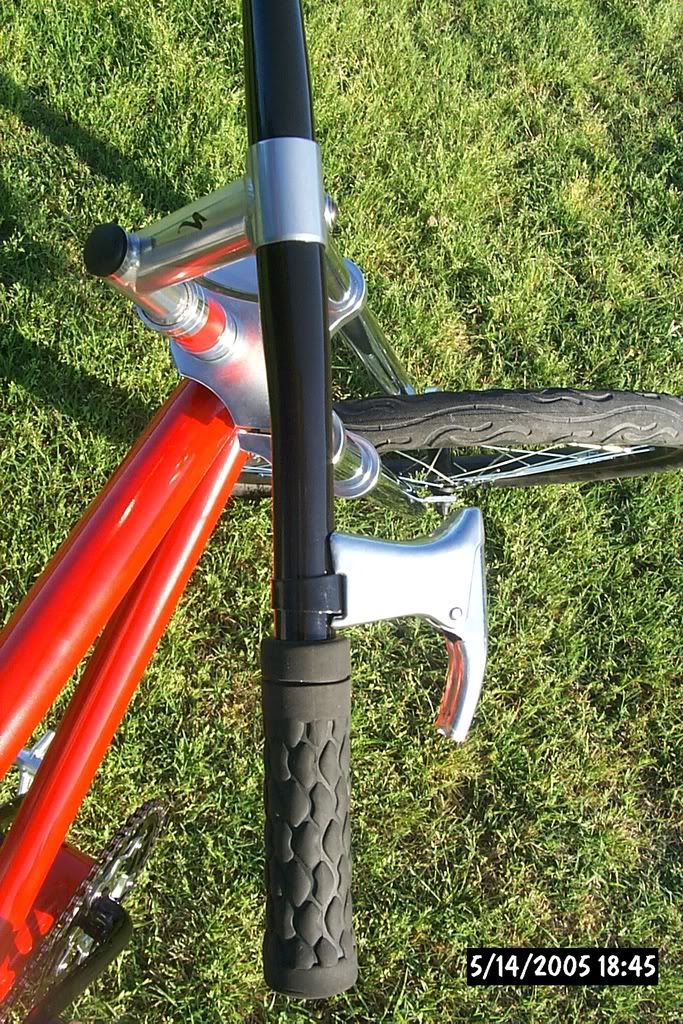 |
| Frontal view... Funky peddle option. I ended up using silicone and super glue to keep the stainless plugs in the end of the peddles. | 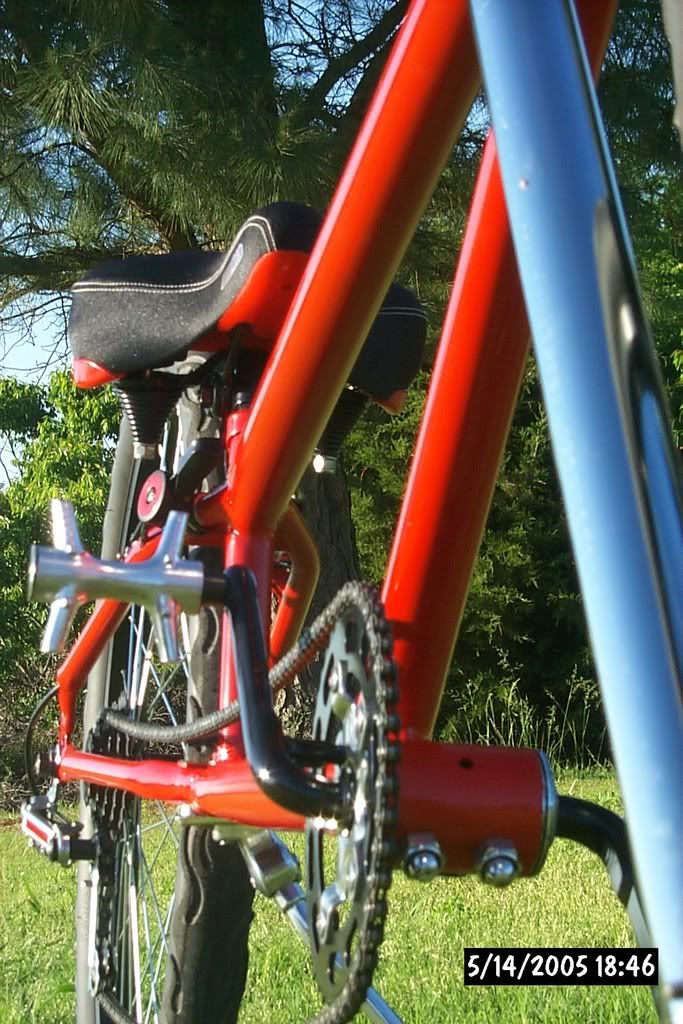 |
| Shifter detail and hidden cable show. Looks like I need to cut up an old de-railer and make an idler gear to keep the change off the chain stay. I should be able to make up a bracket to mount on the kickstand bolt to cover this. |  |
| Simple but nice shot in my opinion... | 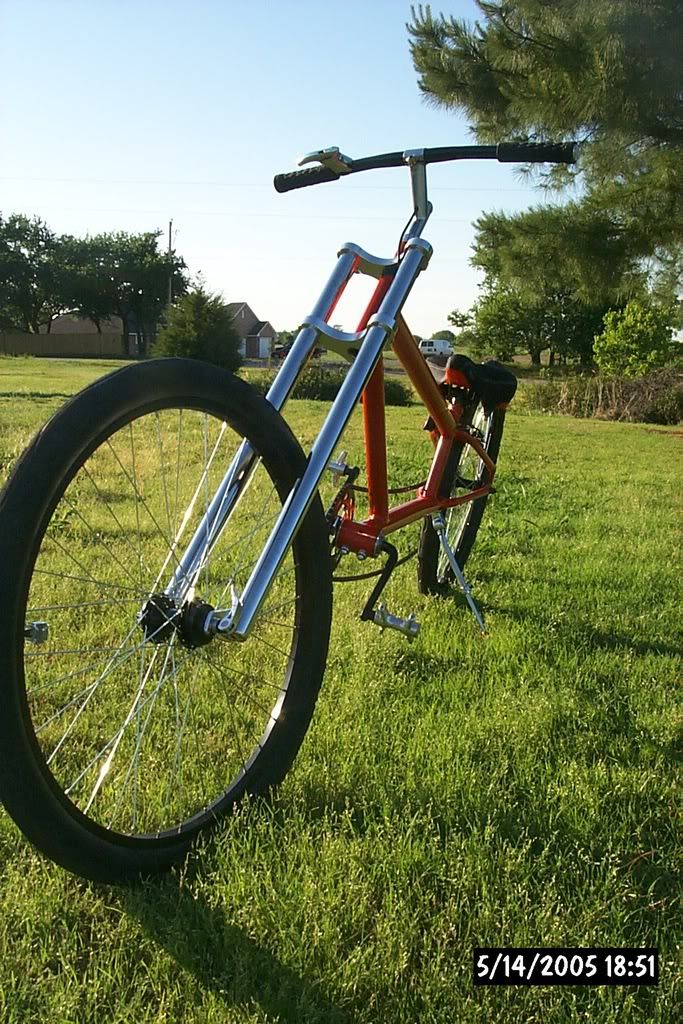 |
| Although it's a very standard, classic layout, it ended up
just like I wanted it to look like style wise. Rides well, has gears, and
reasonably clean appearance.
Although the design is very standard, I'm happy with the details like the cable in the handle bars and frame (I hate seeing nice bikes with cables hanging all over or zip tied to the frame), shifter detail, 'custom' peddles, and little red and black detailing I've done. Nice ride, and finally done. I've entered the Biker Build Off #2 at www.ChopperBicycle.net due to one guy having to drop out but do not really expect to win since those guys are into wild frame designs. But it's done at least and very rideable. |
 |
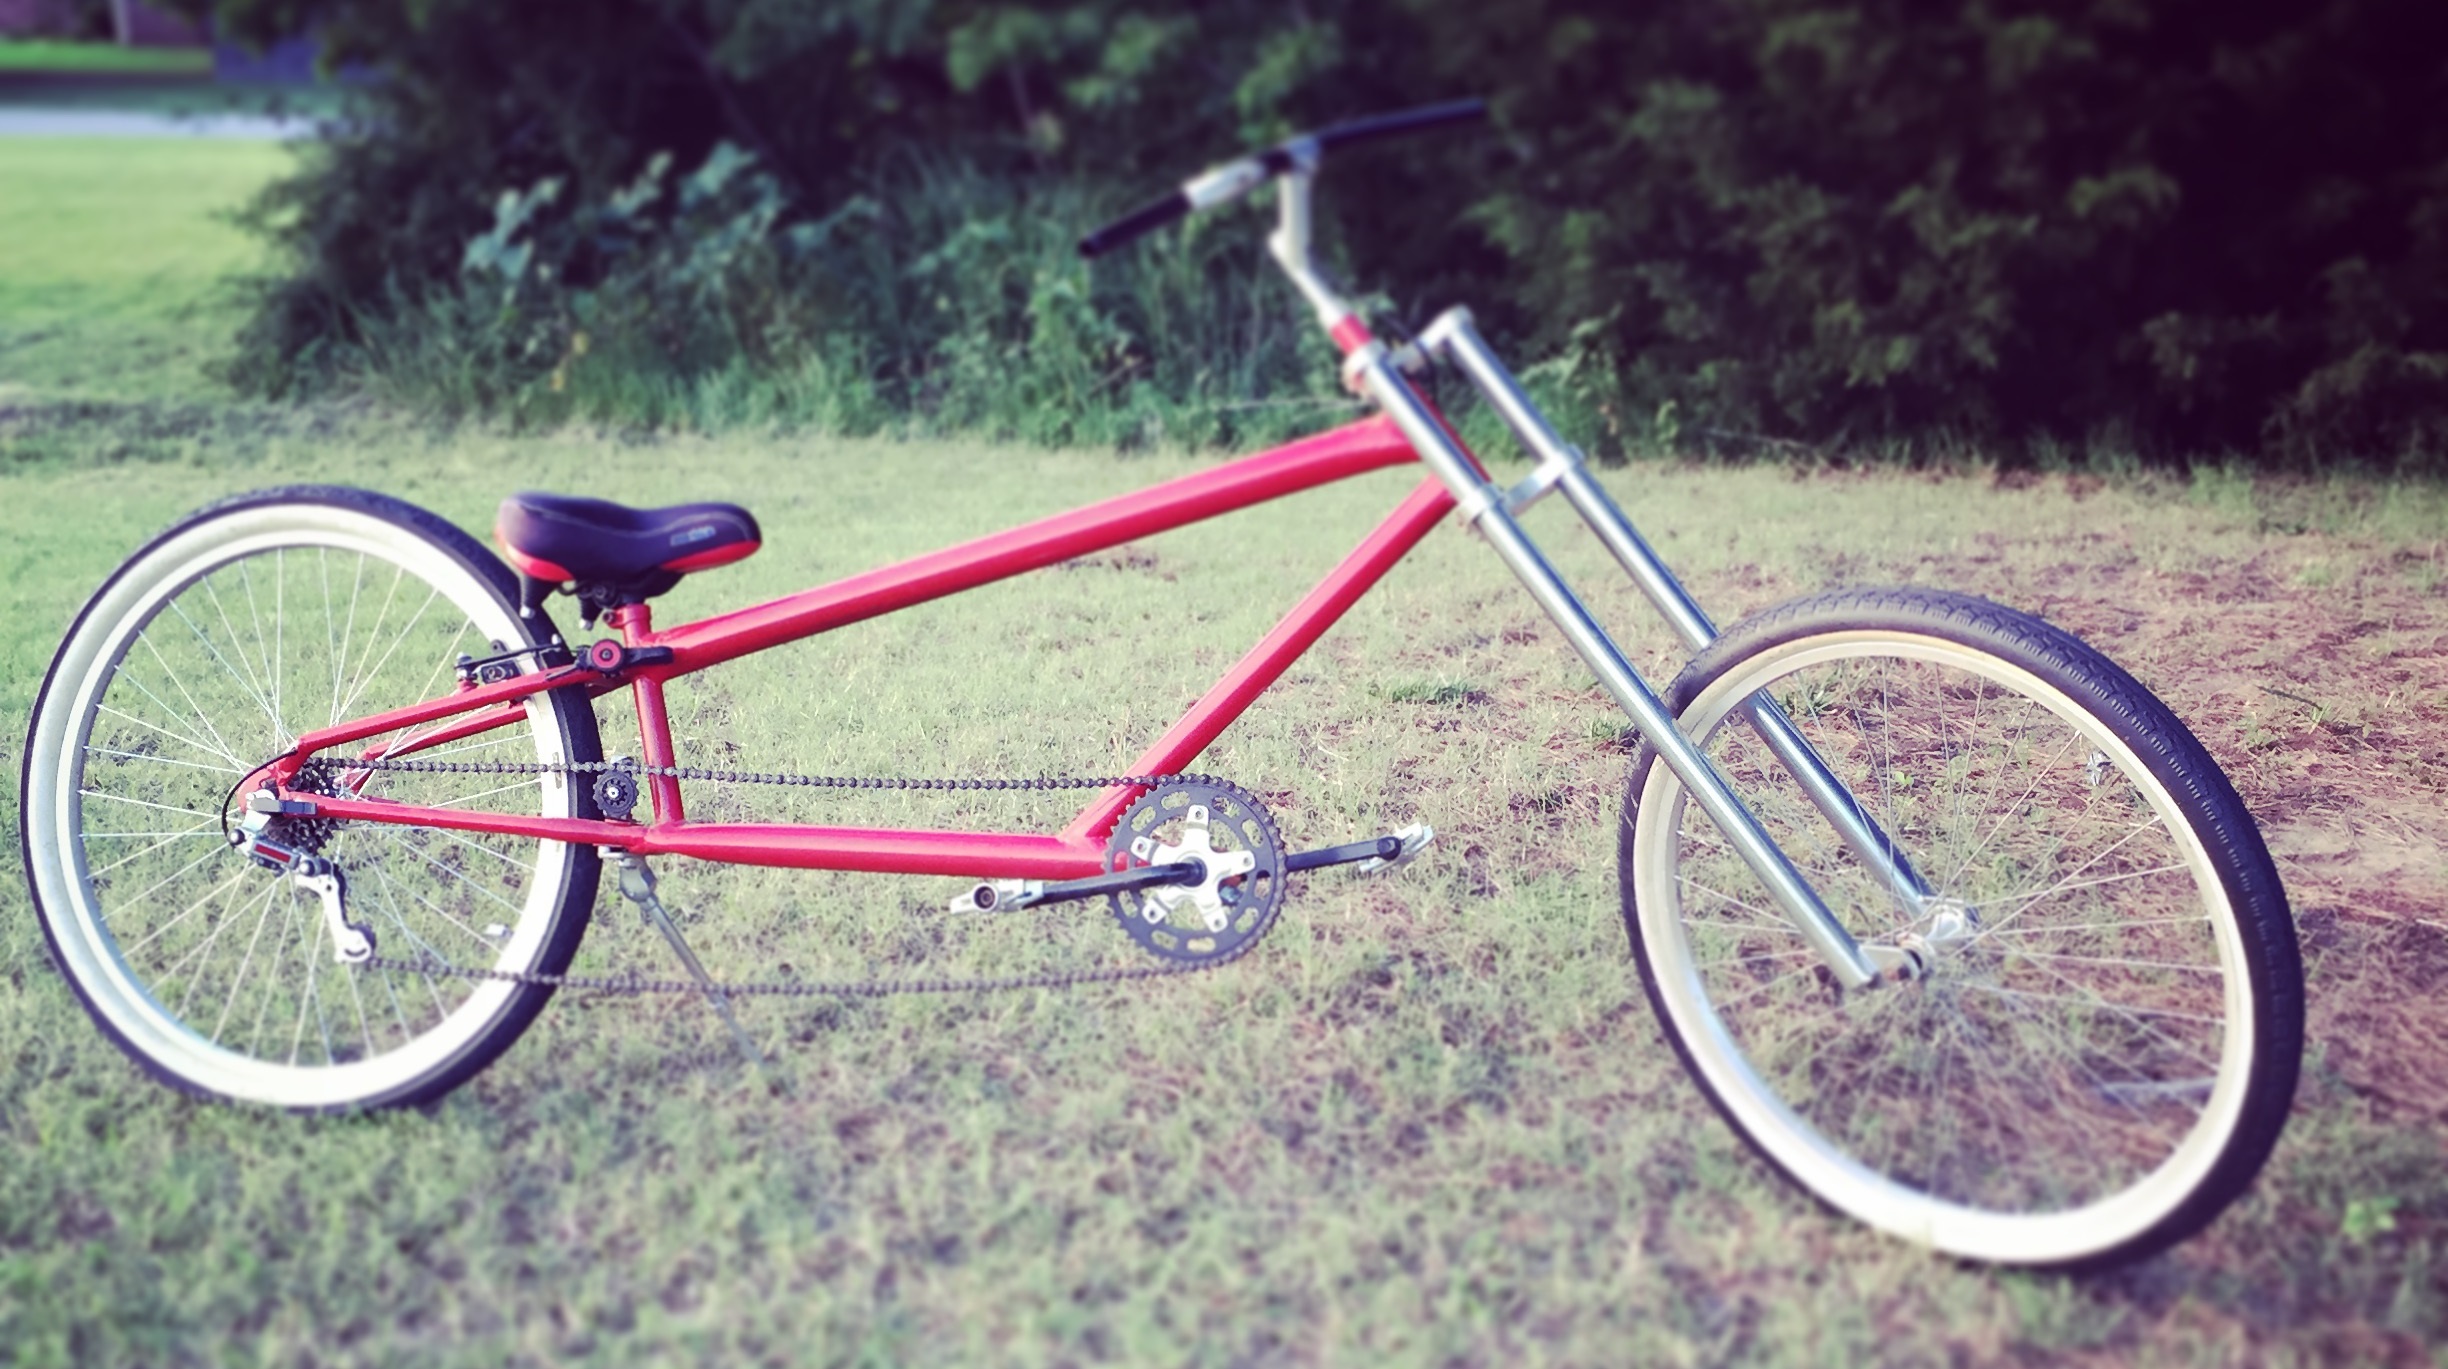
The way it is today... Sometime over the past several years I pulled the black rims and tires off and put these wide whites on. I really do not remember when but I do like it better like this. |
 |